Pressed in Butter: The Art of Classic Shortbread Shapes

Step into a buttery world where craft and crumb meet. Today we explore artisanal molds, stamps, and shaping methods used in classic shortbread making, celebrating how thoughtful tools and careful technique transform simple dough into keepsake cookies. Expect history, precise guidance, caring maintenance tips, and stories that invite your hands—and heart—into the press.

Heritage Impressions, Timeless Crumbs

From Hearthside Workshops

Imagine a village carver shaping beech or maple blocks as bakers nearby churn butter and sift fine flour. Each finished stamp traveled from the bench to the hearth, linking trades in companionship. The result was more than a pattern; it was a daily object that carried stories into each carefully pressed round.

Motifs that Speak

Thistles for Scottish pride, sunbursts for warmth in winter darkness, knots suggesting unbroken fellowship—motifs were chosen not only for beauty but for meaning. When pressed into shortbread, these designs announced hospitality, marked occasions, and turned an economical mixture into a symbolic centerpiece everyone recognized even before tasting the first delicate bite.

Tools Traveling Through Time

A well-kept wooden mold often outlives its first owner, gathering gentle patina and softened edges. Passed between generations, it teaches by feel: the right pressure, the release tap, the reliable chill. In that continuity, cookies become letters carried across years, conveying gratitude, comfort, and welcome without a single spoken word.

Dough Engineered for Detail

Crisp impressions start long before pressing. Balance the classic proportion—one part sugar, two parts butter, three parts flour by weight—then invite cornstarch or rice flour for extra snap and definition. Handle the mixture sparingly to limit gluten, let the butter stay cool yet pliable, and promise your patterns the clearest possible showcase.

Mastering Molds and Stamps

Great impressions happen when preparation, touch, and timing harmonize. Dust intelligently, press decisively, and let the dough’s chill support the design. Whether you use vintage wooden blocks, modern ceramic presses, or a brass seal, the right stance and sequence turn each press into a small ceremony that rewards patience.

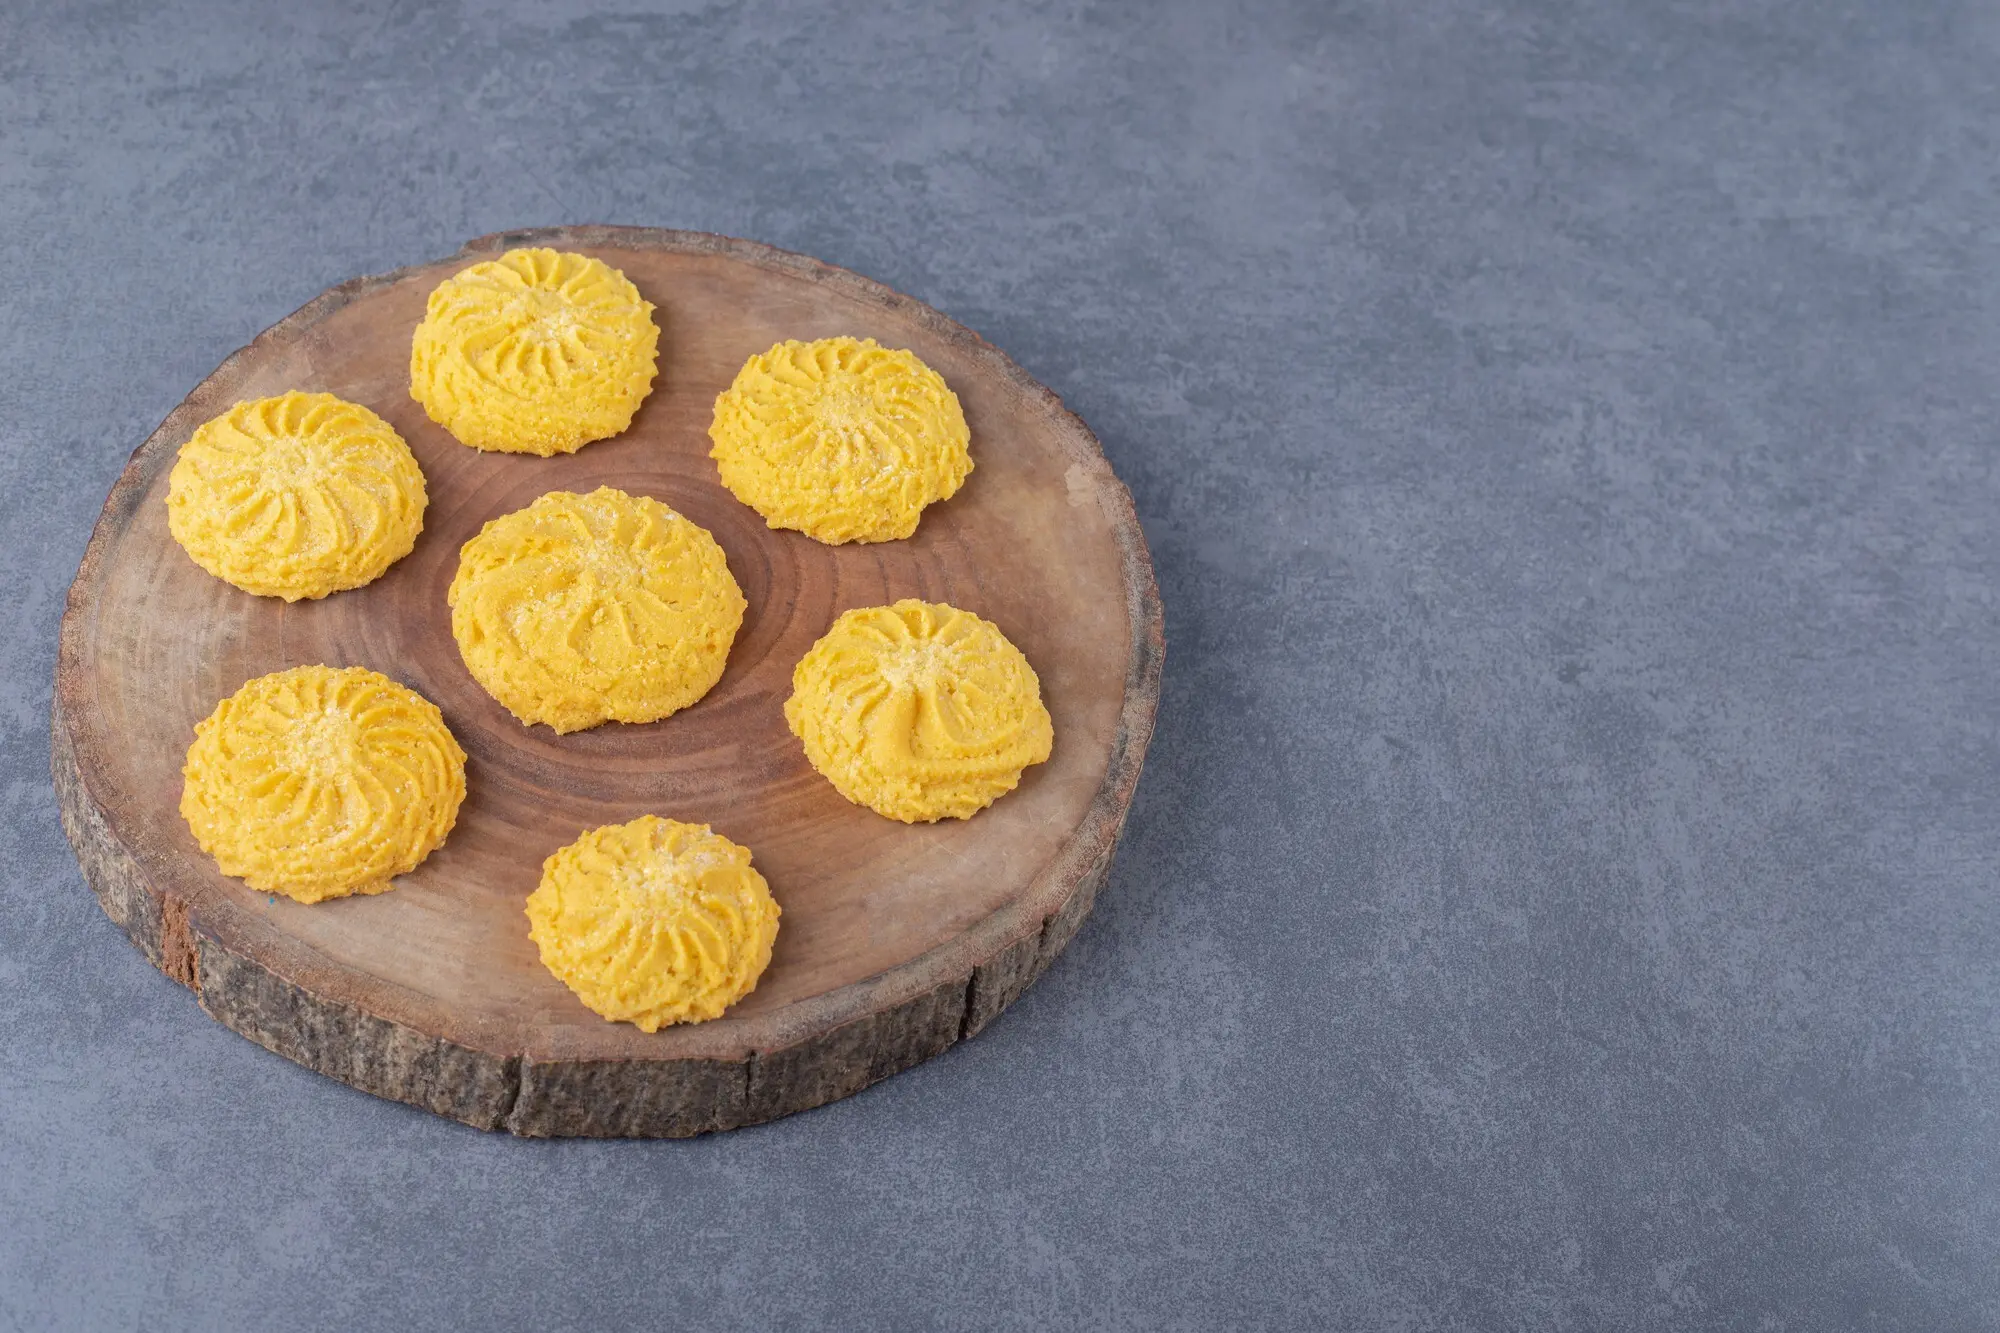
Wedges with Sunburst Radiance

Press a central emblem, score outward like rays, and trim scallops along the rim for a festival-ready wheel. The shape channels attention to the heart, then sends it dancing toward the edge, creating tidy wedges that break neatly while preserving the stamped center as the joyous focus of the bake.

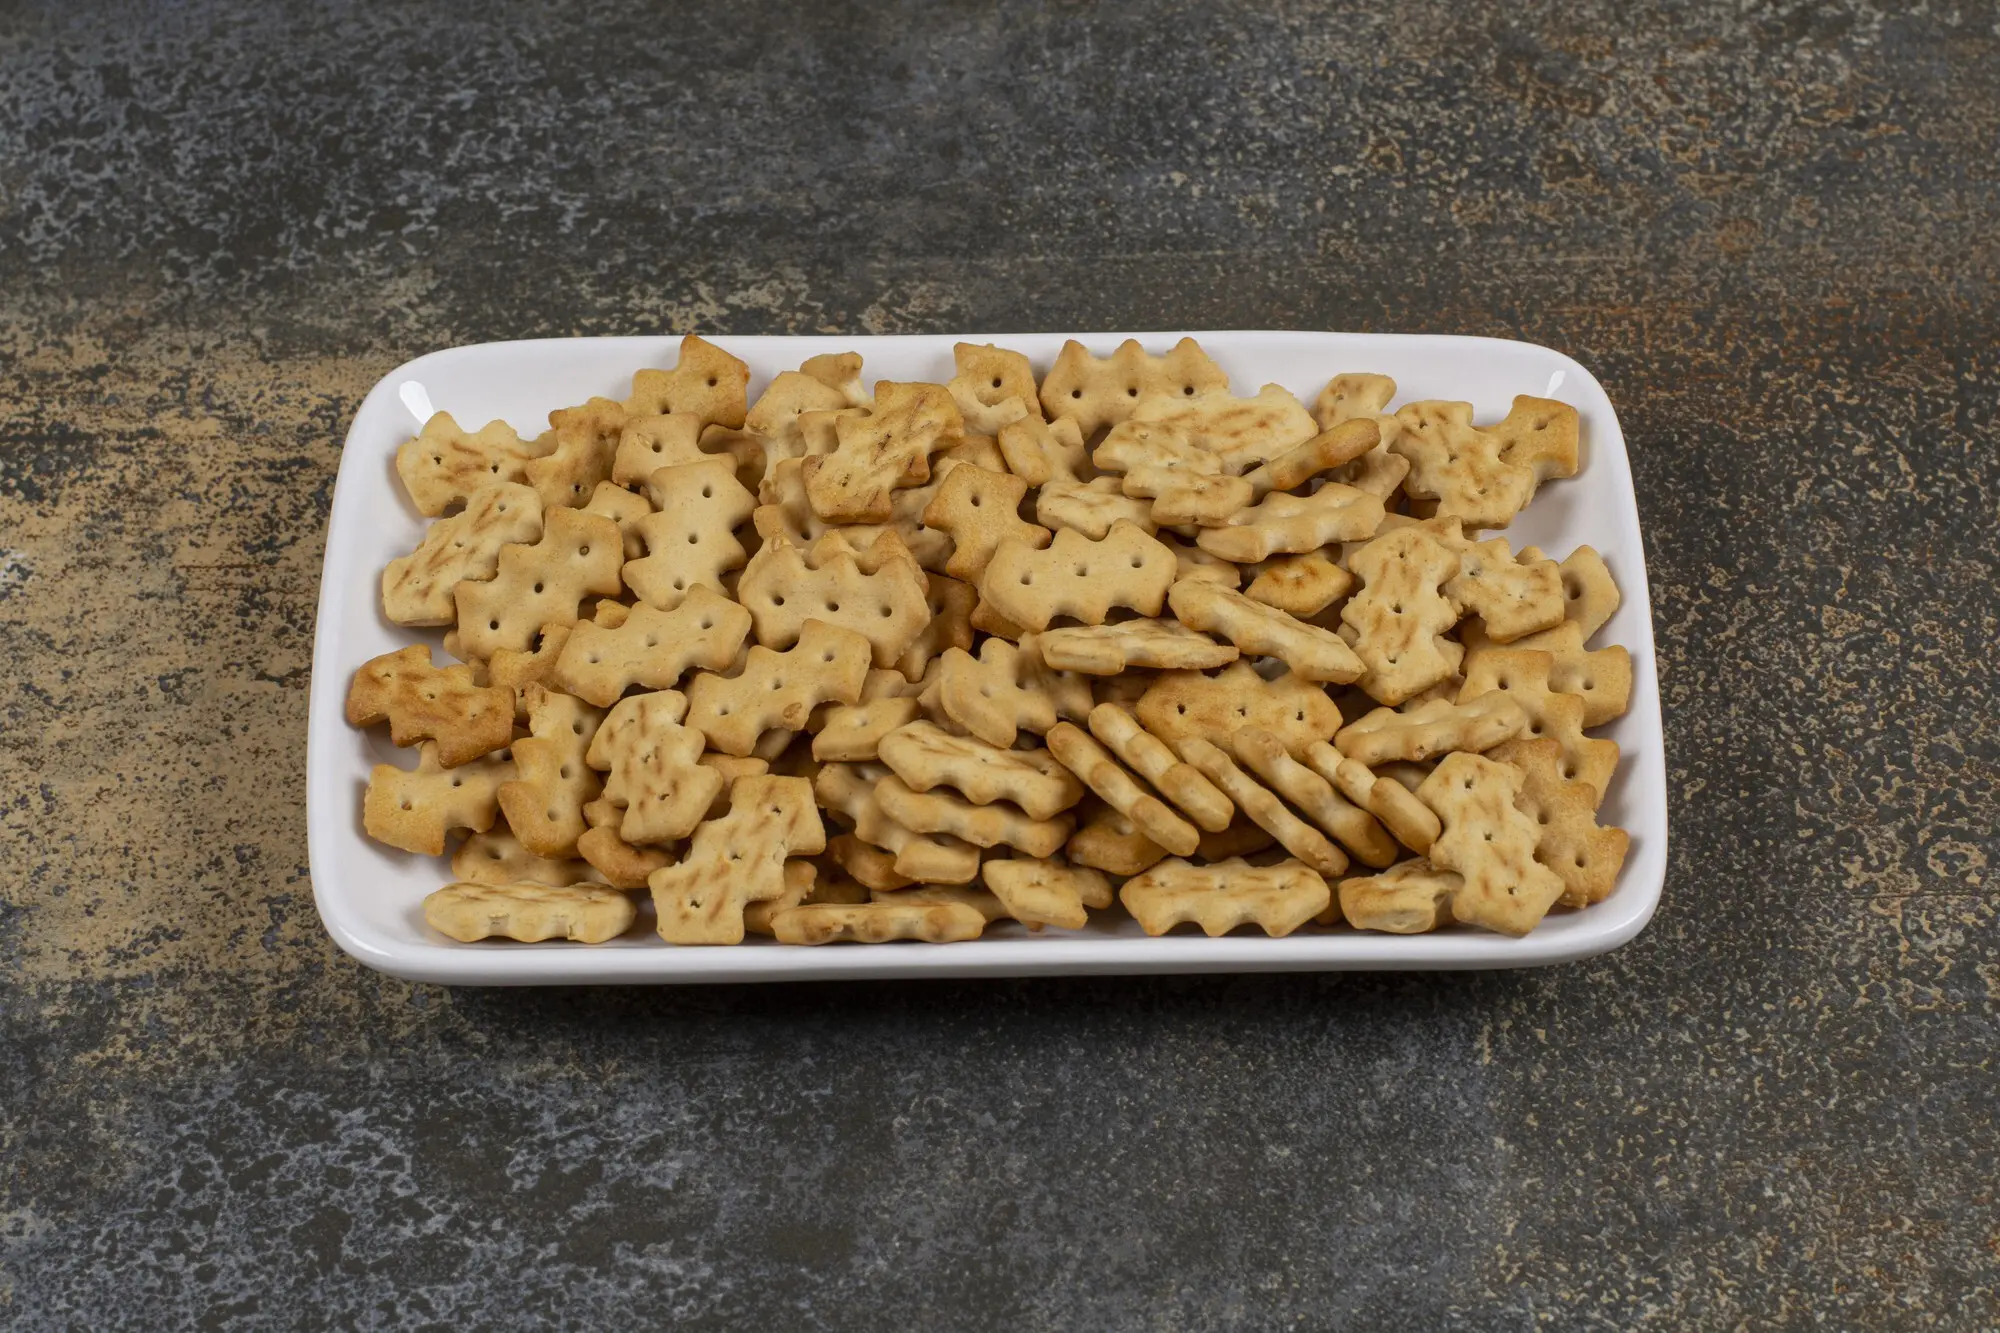
Fingers that Snap Cleanly

Roll evenly, stamp a repeating border, and cut into measured bars before chilling again. Fingers prize balance: crisp sides, straight lines, and a restrained motif running confidently along their length. When baked, they stack handsomely, travel well, and offer that satisfying, butter-biscuit snap with every refined, intentional bite.

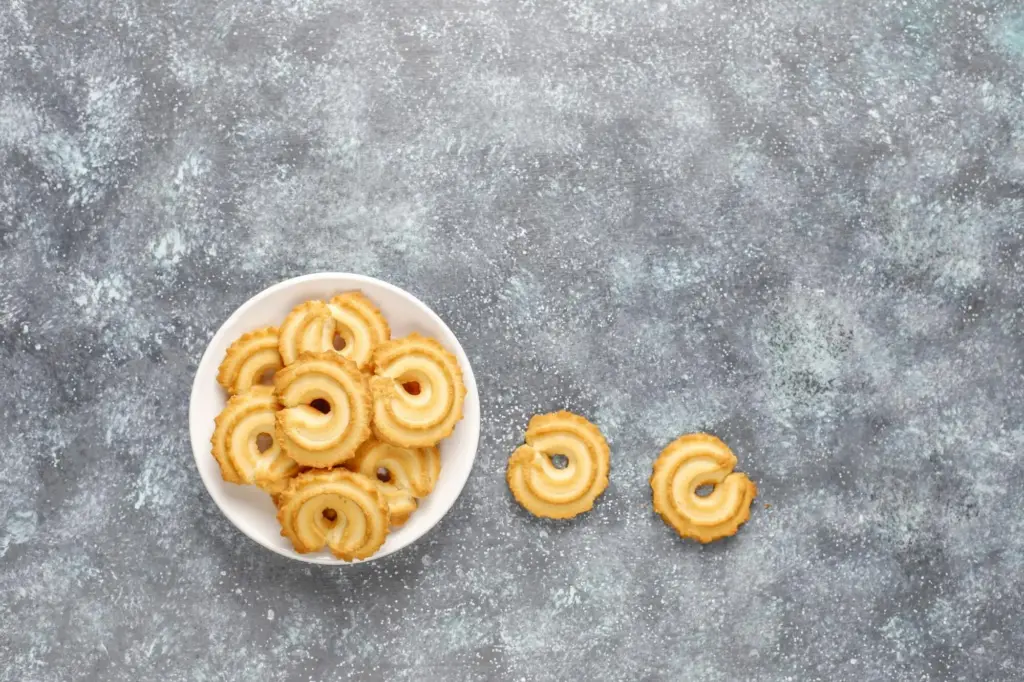
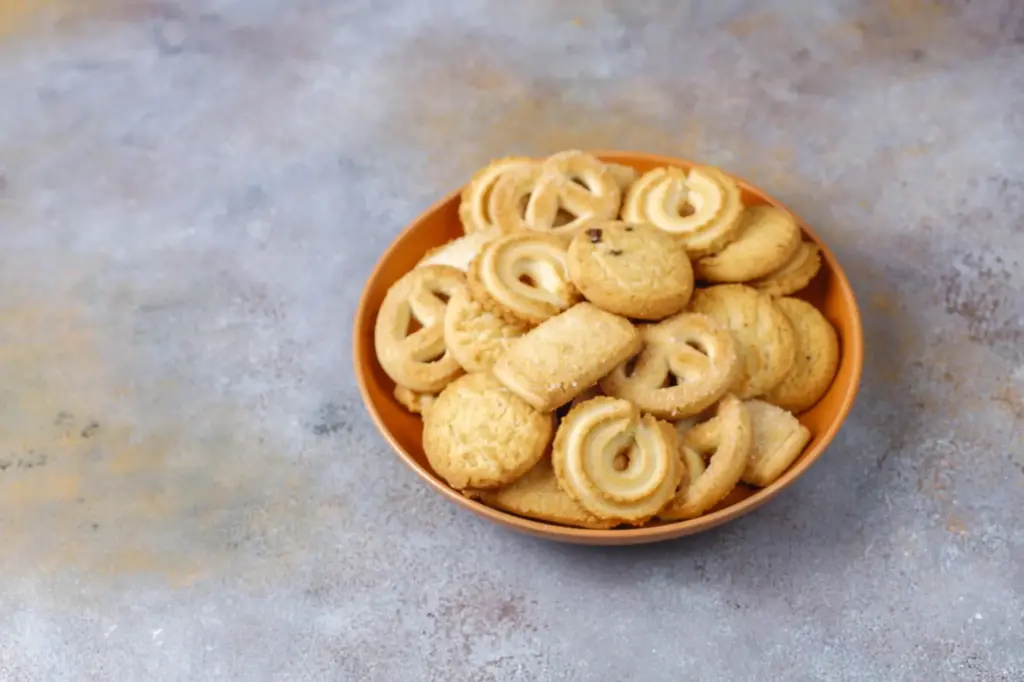
Rounds that Frame a Seal

Cut rounds slightly larger than your press, chill, then stamp to frame a crest, thistle, or sun. The circular boundary welcomes symmetry, making even modest designs feel ceremonious. Serve singly with tea, or cluster on a platter where repetition becomes pattern, transforming simple cookies into a composed, edible gallery.

Seasoning for Safe Service

Use food-grade mineral oil or a specialized board balm, applied thinly, to hydrate dry wood and resist moisture. Let the surface absorb fully before storage. This light armor protects carved recesses from swelling or cracking, keeping lines sharp so every stamp continues to deliver confident, remarkably crisp impressions.

Gentle Cleaning, Lasting Detail

After baking, brush away crumbs immediately so butter does not set in crevices. If needed, a barely damp cloth lifts residue; finish by air-drying completely. Skip soaps and soaking, which can raise grain or warp fine edges. Thoughtful cleaning preserves both hygiene and the integrity of delicate carving.

Storage that Respects Craft

Protect faces from abrasion by wrapping in soft cloth or parchment, and stack carefully so carvings never press against each other. Store away from extreme heat and humidity. A calm, temperate cupboard keeps wood dimensional, prevents cracking, and ensures your next pressing meets the same precise, welcoming surface.

Designing and Customizing Impressions

Sketch the Story First

Begin with pencil on paper, simplifying curves and avoiding tiny islands that can crumble in dough. Envision negative space as strongly as raised lines. Test the scale with a cardboard mock press on chilled dough, adjusting widths so baked outlines emerge readable, elegant, and unmistakably yours on the cooling rack.

Carve with Grain-Smart Choices

Select close-grained species like maple or beech that resist splintering. Work with sharp gouges, carving clean, shallow relief that releases easily. Sand judiciously, avoiding rounded edges that mute definition. Finish with a food-safe treatment, then trial-press on scraps to confirm the design prints boldly without trapping stubborn dough.

Modern Making, Food-Safe Mindset

If laser engraving or 3D printing tempts you, choose food-contact-safe materials, avoid porous layers that harbor residue, and seal appropriately per manufacturer guidance. Keep tools exclusively for baked goods, clean gently, and replace at the first sign of wear. Technology serves beautifully when safety, clarity, and maintenance remain nonnegotiable.
Daxikavikarotaridari
Privacy Overview

This website uses cookies so that we can provide you with the best user experience possible. Cookie information is stored in your browser and performs functions such as recognising you when you return to our website and helping our team to understand which sections of the website you find most interesting and useful.